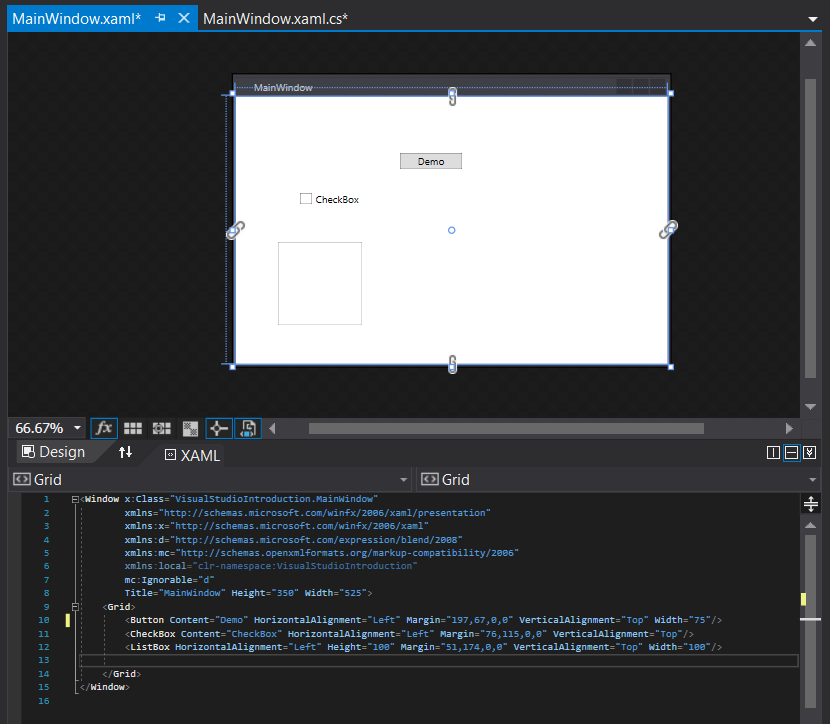
In your VisualStudioIntroduction solution, click on the button and look at your XML. Specifically the Button Content, and note that it is “Button”. Change it to “Demo” and the button in the designer will change.
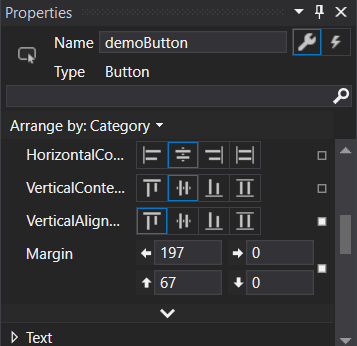
With the button selected, in the Properties window look at the Name, right now it says <No Name>. Change it to demoButton. This add the name to the XML. Click on the Events tab in the Properties window (The lightning bolt to the right of the name).
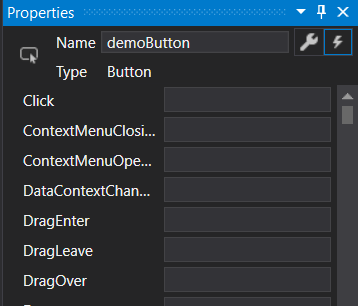 In the events tab, click on the text box to the right of “Click”. This will create a click event handler in the MainWindow.xaml.cs.
 The demoButton_Click code (which there is currently none of) will execute every time the application is started and the Demo button is clicked
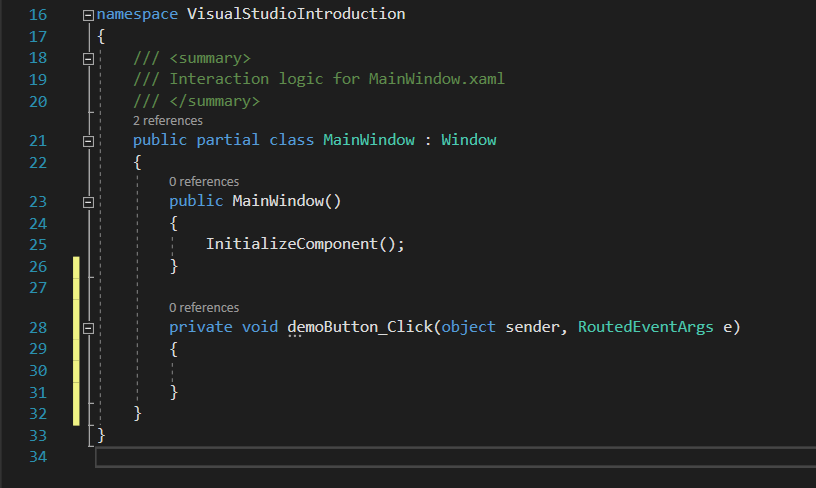
But more about the MainWindow.xaml.cs. This is a Window object. Windows and other classes are housed inside of namespaces. Namespaces contain curly braces, and if your cursor is near a curly brace, it will highlight the other curly brace that it is corresponded to.
 The curly brace that is directly below the Namespace marks its beginning, and the very last ending curly brace marks its end.
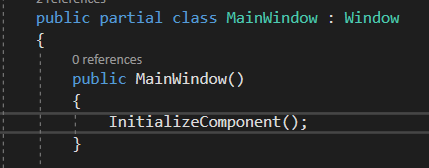 Inside the MainWindow you have...another MainWindow. This is the MainWindow’s constructor which is very important, but will be spoken more of much later when it is more relevant. Just know now that this is NOT the MainWindow itself.
 This button event handler is technically something called a method. This will also be explained in more detail later.
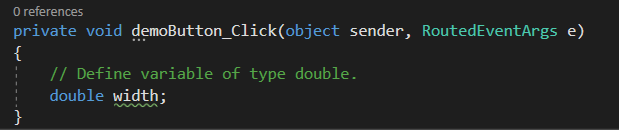
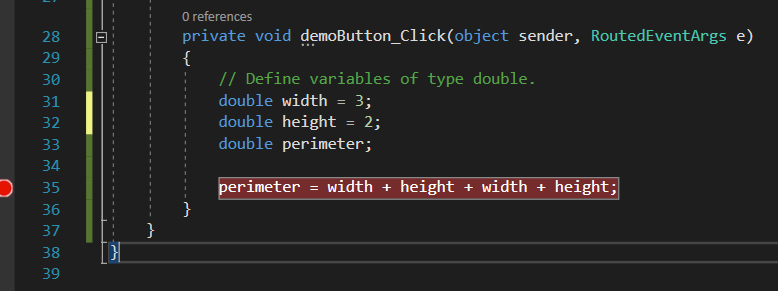
In this event handler we will define a variable. This will also be explained in more detail later. This variable will be named width and be of type double, so type the following as you see below:
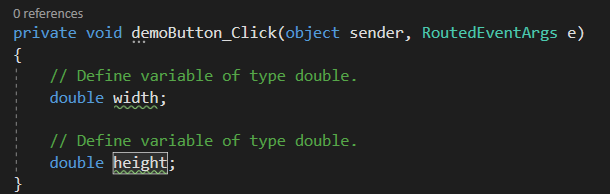
 Define another variable of type double. Name this one “height”.
 Define another. Name it “perimeter”.
 The green lines of code are comments. In C# two slashes and text on the line is ignored by the compiler. These comments are currently redundant, and they will be removed so only one of them remains. The word “variable” will be changed to “variables” in the one comment for accuracy.
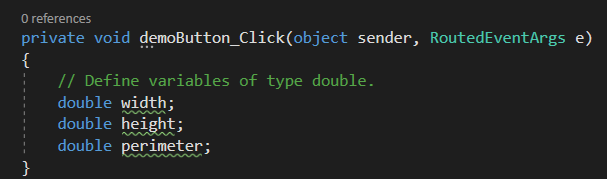 In this code, three variables are being defined - width, height, and perimeter.
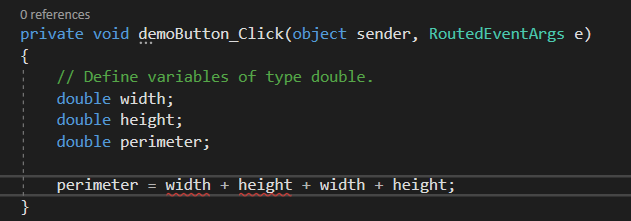
What if you wanted to calculate the perimeter of whatever it is that you have? Calculations could be done by performing the following:
 The red underline shows that there is an error with that code. In this case it is because the width and height variables were never assigned a value. This error is specifically called a compiler error, and if you attempt to build the solution it will fail.
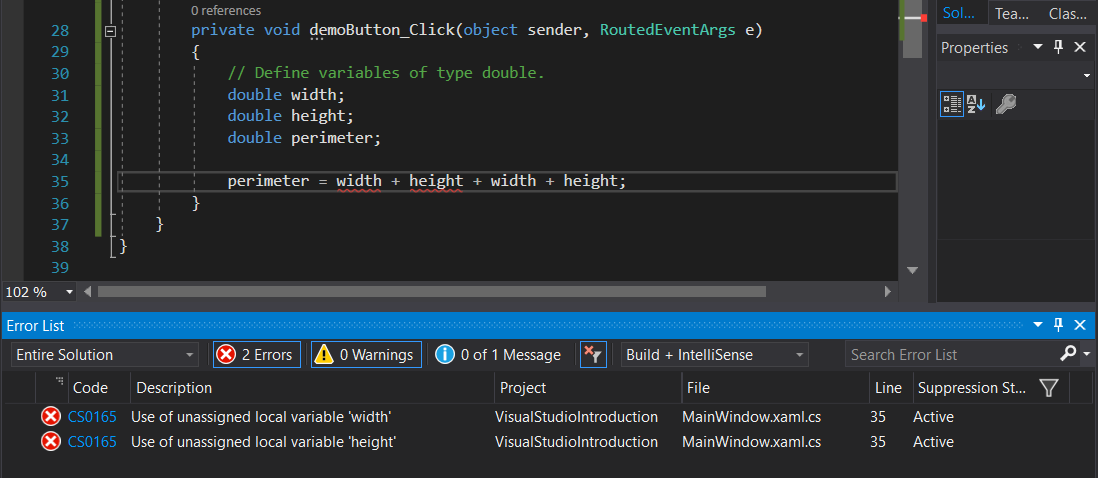 This is logical - there is no way to calculate the perimeter when the width and height are unknown. If you double click on one of the two errors in the Error List, it will take you to the line of code of the error. Thankfully these particular errors are very easily fixed, and can be done so by assigning the width and height parameters a value.
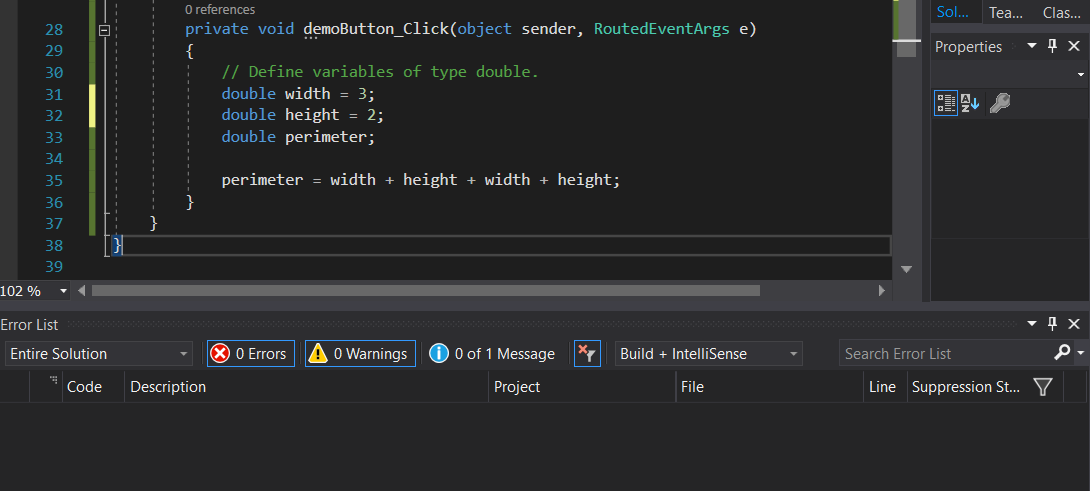 The errors are no longer there.
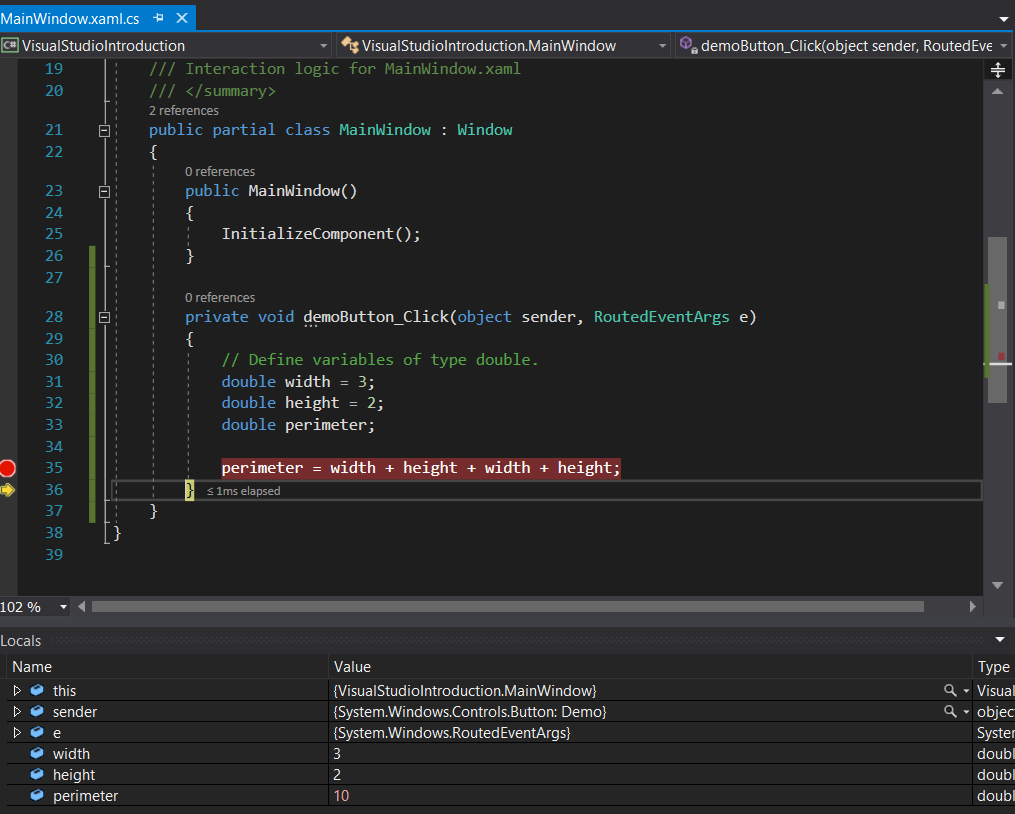
Set a breakpoint on line 35 of this file - this is done simply by clicking on the column to the left of the line number. This will be gone over in more detail in a future document, called “Debugging in Visual Studio”.
 You can now click the Start button on the Toolbar, and then the Demo button with the application that pops up. You will then be on the breakpoint you set.
In the Locals window below you can see the values of the variables that you created. The width is 3, the height is 2 and right now the perimeter is 0 because it has not yet been calculated. Pressing F10 will have you step over to the next line, which will result in the calculation. The perimeter will now be 10.