Virtual IT Lab

Overview

Virtual IT Lab

Your VDI (Virtual Desktop Instance) provides you with a Windows computer that you can connect to and use to complete course work. These instructions show how to connect to your VDI.

Work through the stories in order. Use the acceptance criteria to check each feature, and complete the nested tasks using the specified names, values, and scenarios.

Connect with the virtual-lab client
Acceptance Criteria
Acceptance criteria
  • The client installation and required restart are complete.
  • The course server is configured and the desired desktop is marked as a favorite.
  • The virtual desktop launches through the client.
Instructions
1.Install the Virtual Lab client
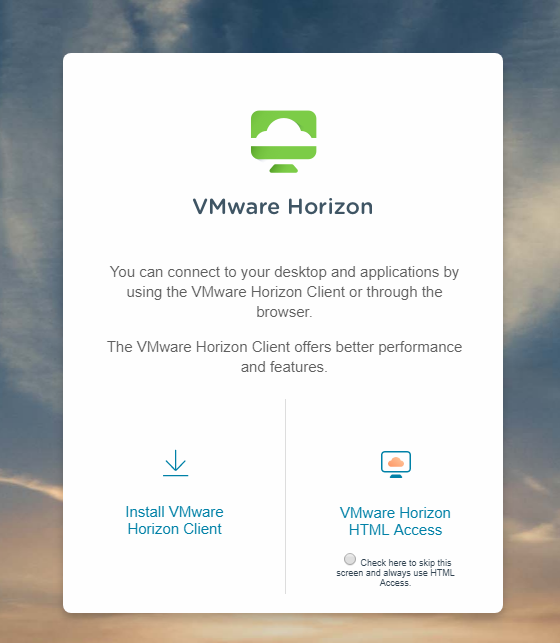
A Open Virtual Lab in a web browser.

NTC Virtual Lab

NTC Virtual Lab

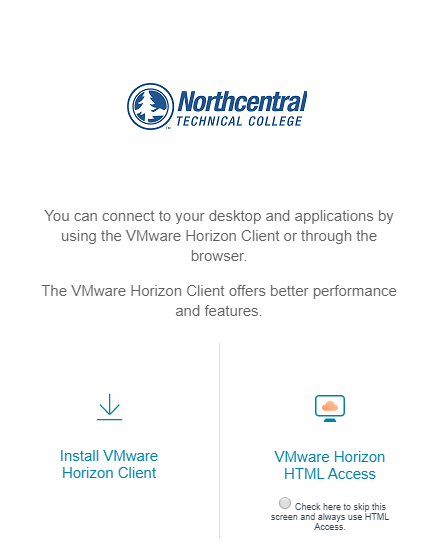
B Click on Install VMware Horizon Client.
download client for Virtual IT Lab. Use the adjacent task instructions to identify the required controls, output, or debugger values.
download client
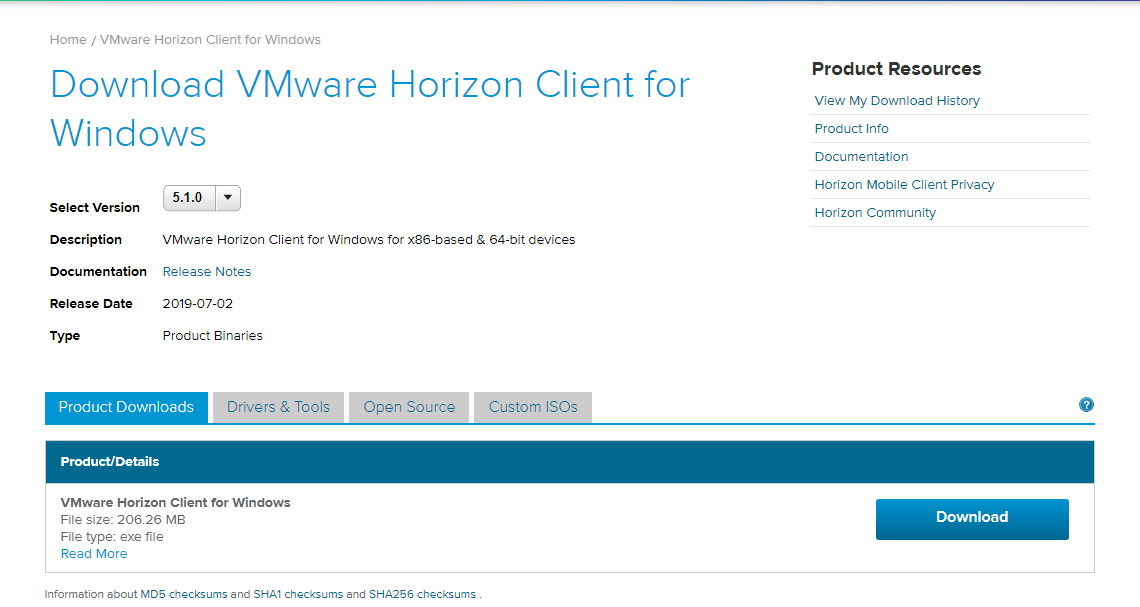
C Find the version appropriate for your operating system and click on Go to Downloads.
D Click on Download button.
go to downloads for Virtual IT Lab. Use the adjacent task instructions to identify the required controls, output, or debugger values.
go to downloads
E Run the VMware Horizon Client for Windows installer.
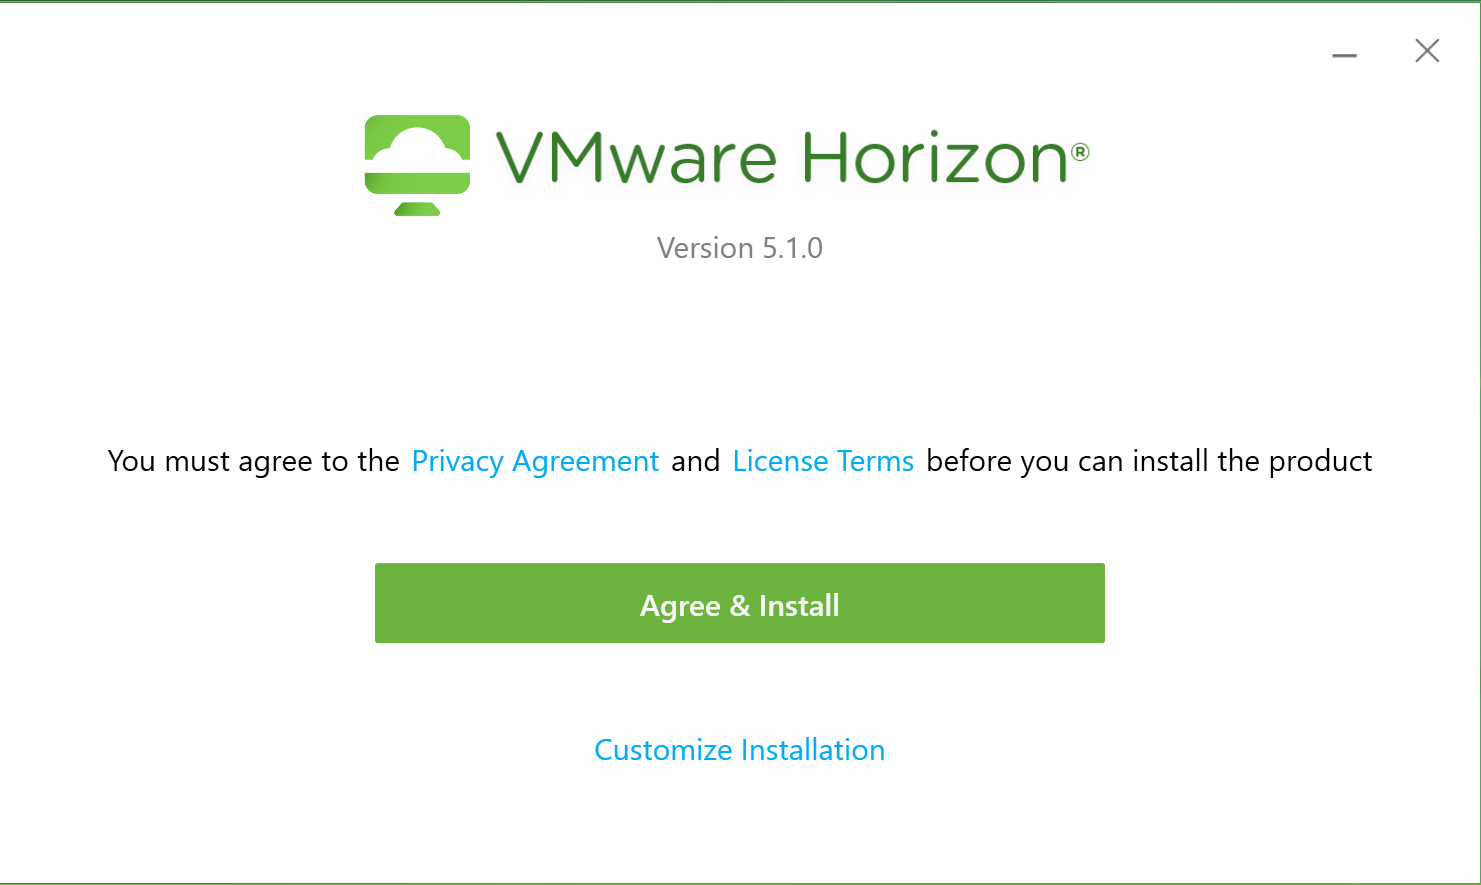
F Click on Accept and Install.
accept and install for Virtual IT Lab. Use the adjacent task instructions to identify the required controls, output, or debugger values.
accept and install
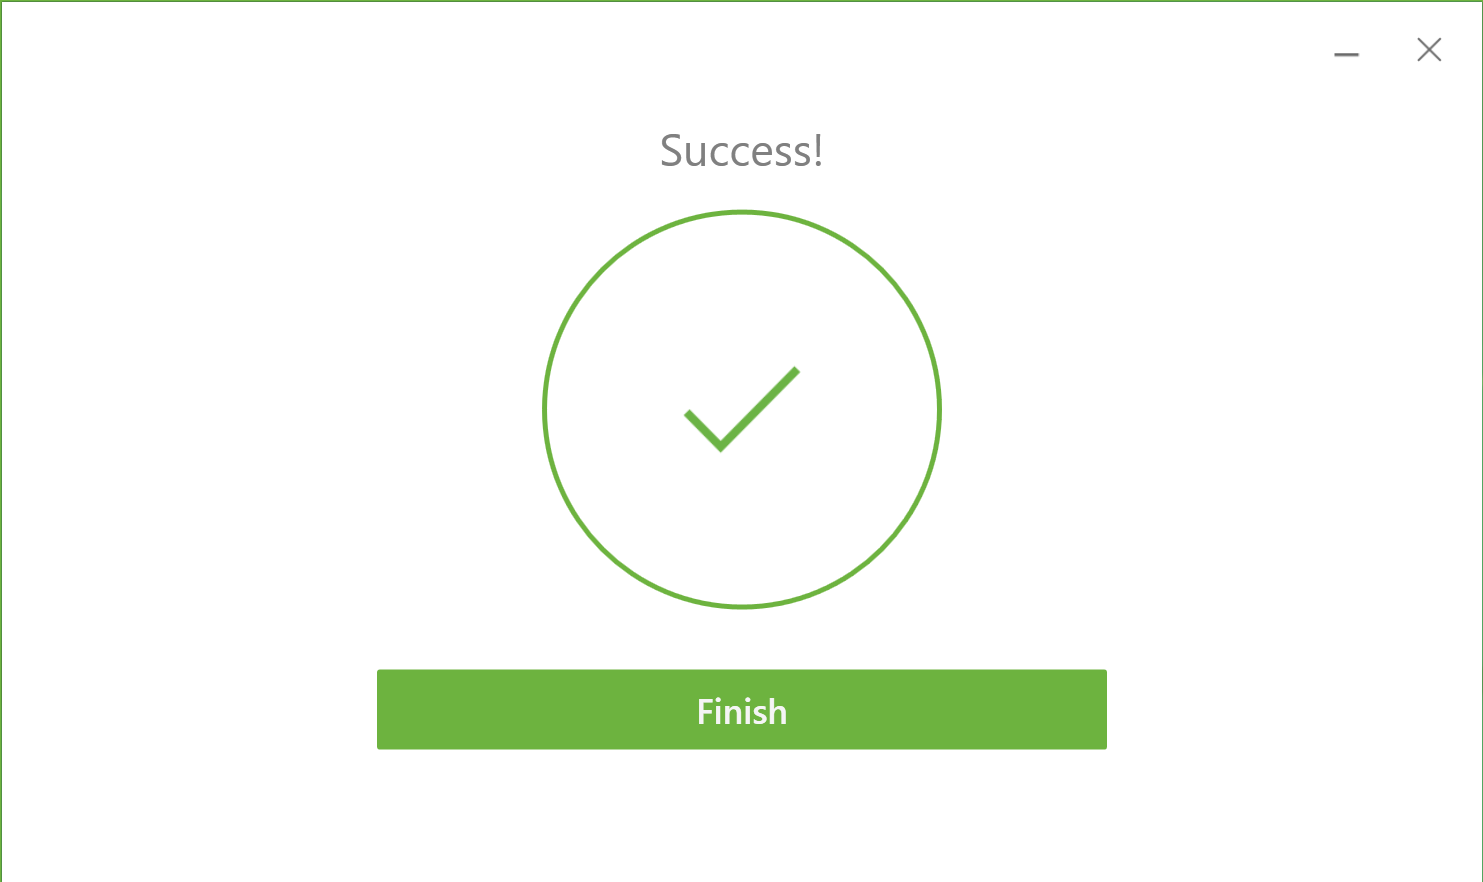
G Click Finish.
finish install for Virtual IT Lab. Use the adjacent task instructions to identify the required controls, output, or debugger values.
finish install
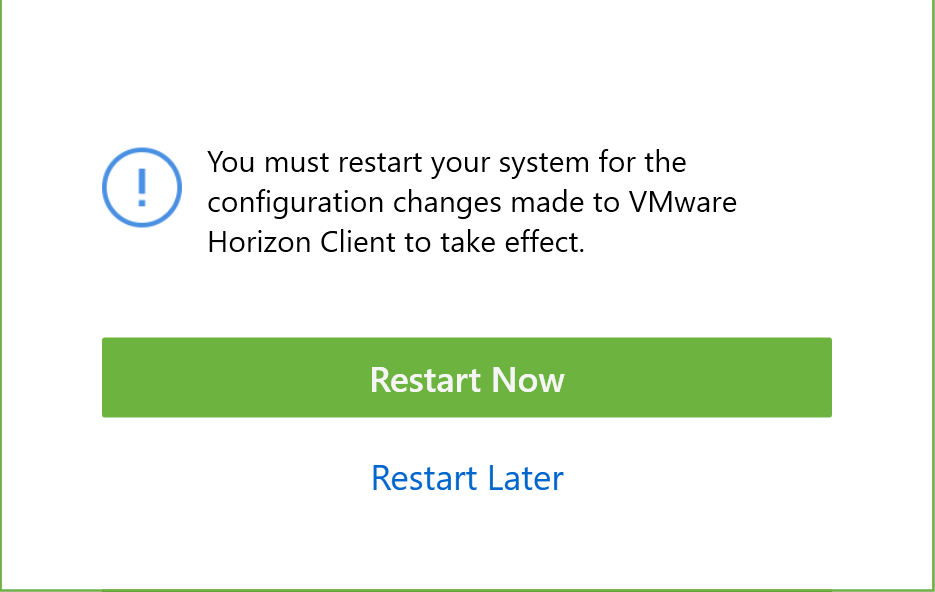
H You will be prompted to restart your computer. Click Yes.
restart computer for Virtual IT Lab. Use the adjacent task instructions to identify the required controls, output, or debugger values.
restart computer
2.Configure the Virtual Computer Lab.
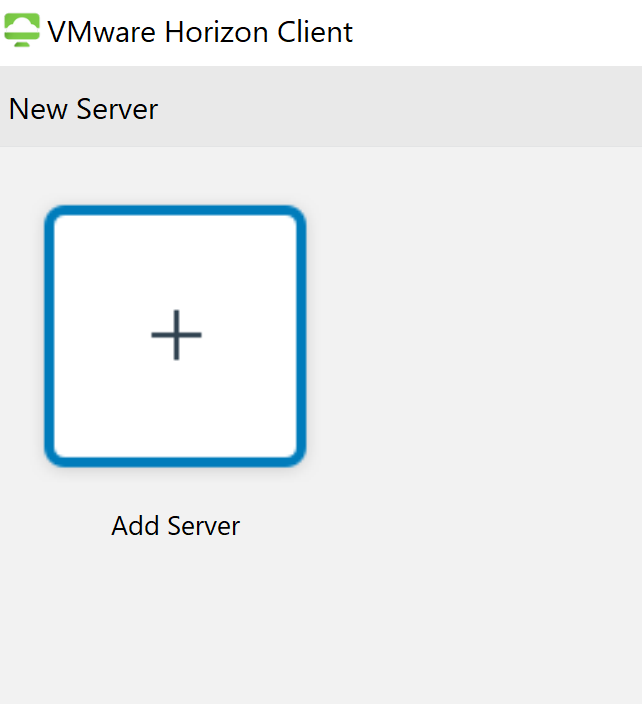
A Click on Add Server.
add new server for Virtual IT Lab. Use the adjacent task instructions to identify the required controls, output, or debugger values.
add new server
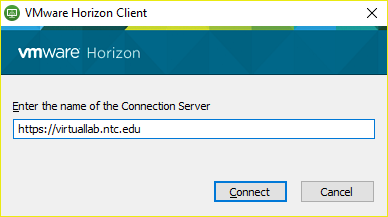
B Enter https://virtuallab.ntc.edu as the name of the Connection Server. Click Connect.
Image: Enter server name for Virtual IT Lab. Use the adjacent task instructions to identify the required controls, output, or debugger values.
Image: Enter server name
C Log in with the same credentials you use to access https://my.ntc.edu/.
D Change settings
1 The downloaded client has extra settings that you can modify to fit your needs. Click the gear in the upper right corner.
Gear for Virtual IT Lab. Use the adjacent task instructions to identify the required controls, output, or debugger values.
Gear
2 In this settings window, select your IT Virtual Lab. From here, you can set up auto connections, add multiple monitors, and…

In this settings window, select your IT Virtual Lab. From here, you can set up auto connections, add multiple monitors, and synchronize some of your inputs.
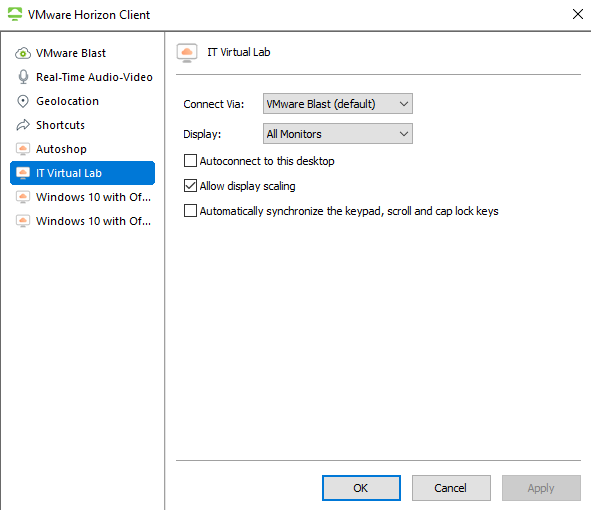
Settings for Virtual IT Lab. Use the adjacent task instructions to identify the required controls, output, or debugger values.
Settings

To use multiple monitors - set the Display: option to "All Monitors"
3.Mark a virtual machine as favorite
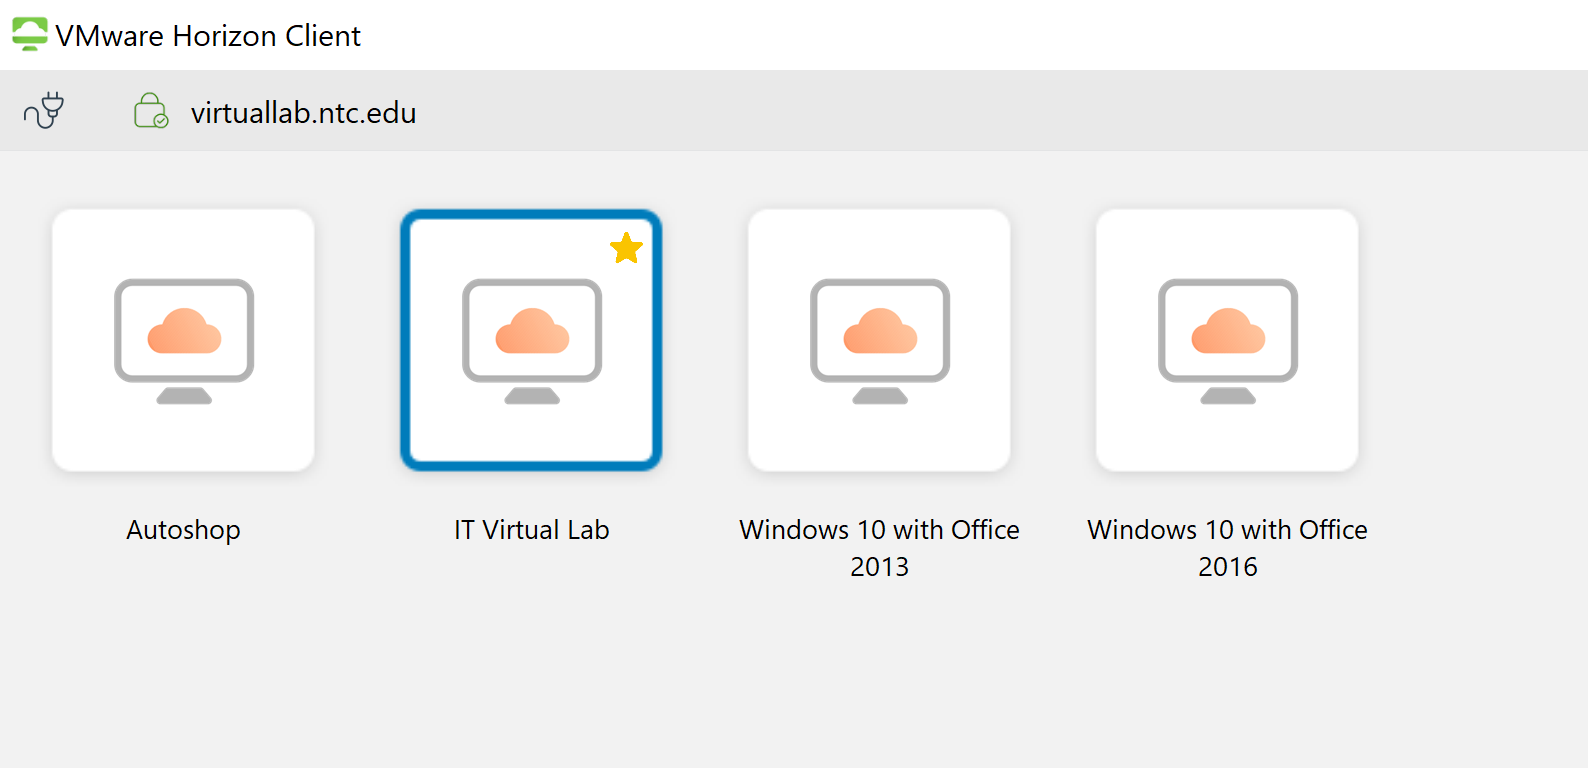
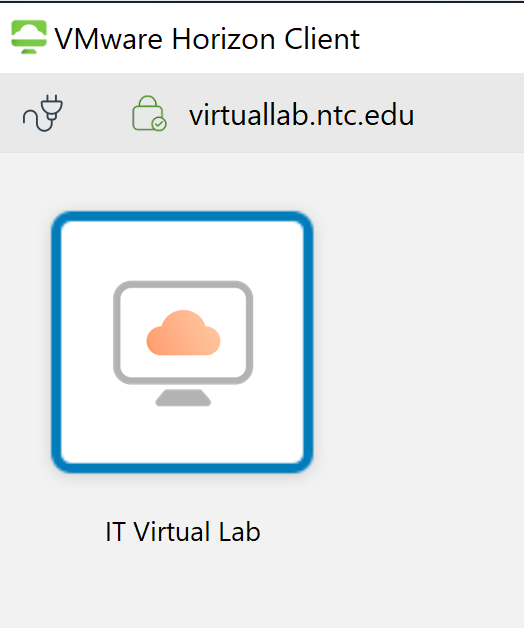
A Right-click on Virtual Computer Lab - IT.
virtual desktops for Virtual IT Lab. Use the adjacent task instructions to identify the required controls, output, or debugger values.
virtual desktops
B If it isn't already, mark it as a favorite.
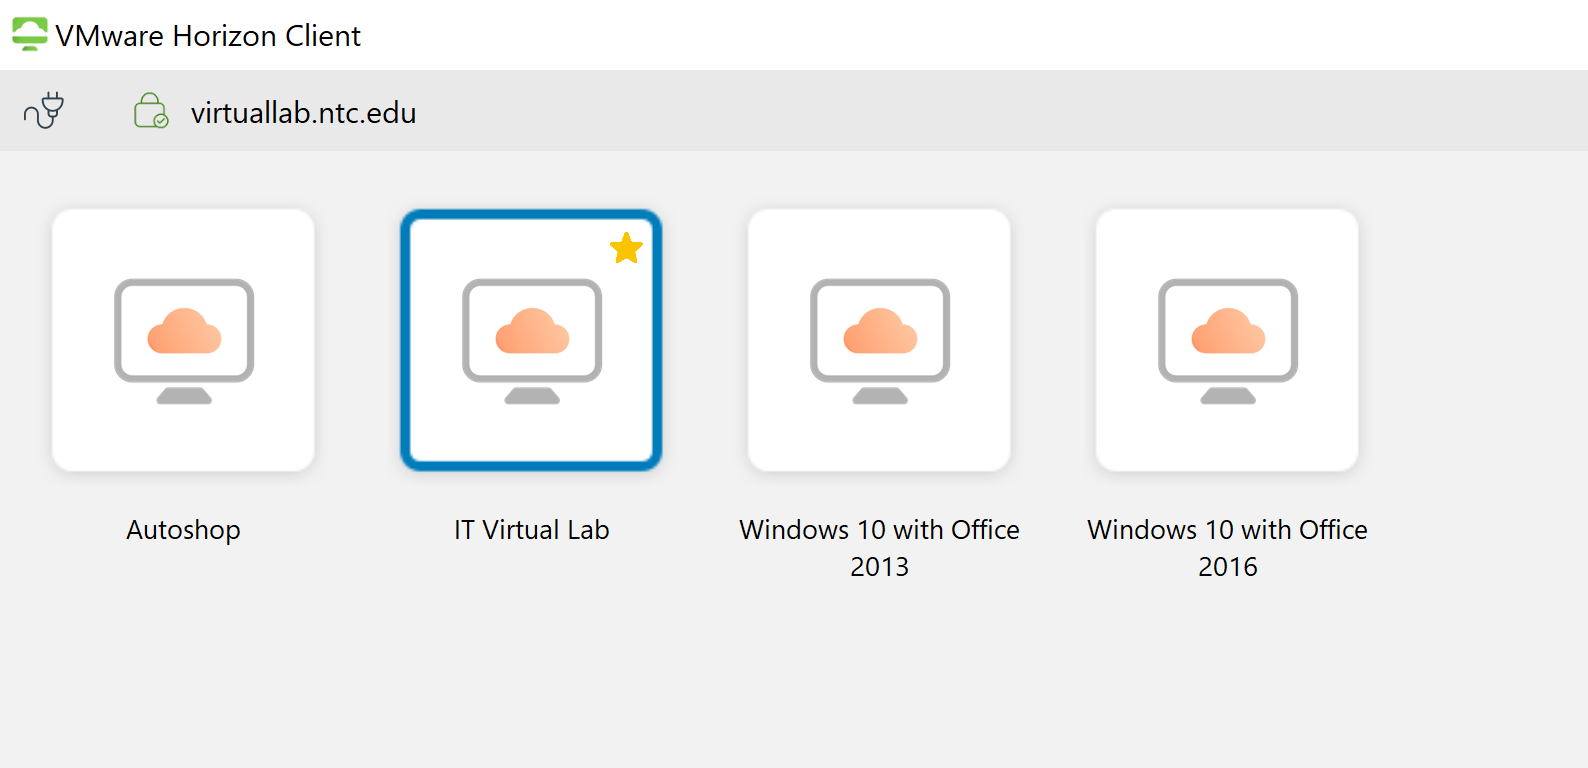
C The Virtual Computer Lab - IT icon should now have a star on it.
virtual desktops for Virtual IT Lab. Use the adjacent task instructions to identify the required controls, output, or debugger values.
virtual desktops
D Click on the star icon in the top right corner of the window.

The star icon filters the displayed virtual machines to only those which you have marked as favorites.
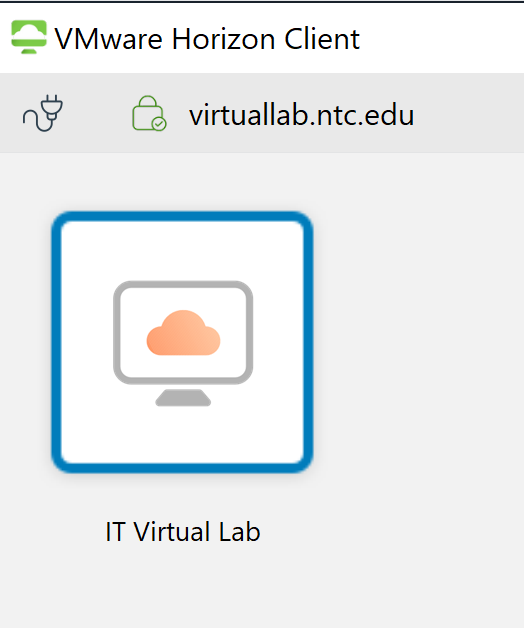
E Now only virtual machines which you have marked as favorites should be displayed.
favorite desktop for Virtual IT Lab. Use the adjacent task instructions to identify the required controls, output, or debugger values.
favorite desktop
4.Launch the Virtual Computer Lab.
A Double-click on Virtual Computer Lab - IT.
favorite desktop for Virtual IT Lab. Use the adjacent task instructions to identify the required controls, output, or debugger values.
favorite desktop
B When the virtual machine loads, Windows will present you with a Welcome to NTC screen. Click on OK.
Connect through the browser
Acceptance Criteria
Acceptance criteria
  • The specified web endpoint opens.
  • The course account can launch the assigned virtual desktop through the browser workflow.
Instructions
5.Connect to the Virtual Computer Lab from your browser

If you are working on a computer where you cannot install the VMware Horizon Client (described above in the previous steps) you can alternatively use these steps to connect to it through your web browser. This is not the recommended option for regular use.

A Go to the NTC Virtual Lab website

NTC Virtual Lab

B Click VMWare Horizon HTML Access
HorizonWeb for Virtual IT Lab. Use the adjacent task instructions to identify the required controls, output, or debugger values.
HorizonWeb
C Log in using your NTC login
D Continue with the virtual-desktop connection instructions below
Completion review
6.Review the feature acceptance criteria
A Confirm the required results

Return to each story and verify its acceptance criteria. Preserve the submission format and destination stated in the activity; a reading, setup guide, lab, video demonstration, and oral final may require different evidence.

Connect with the virtual-lab client Connect through the browser