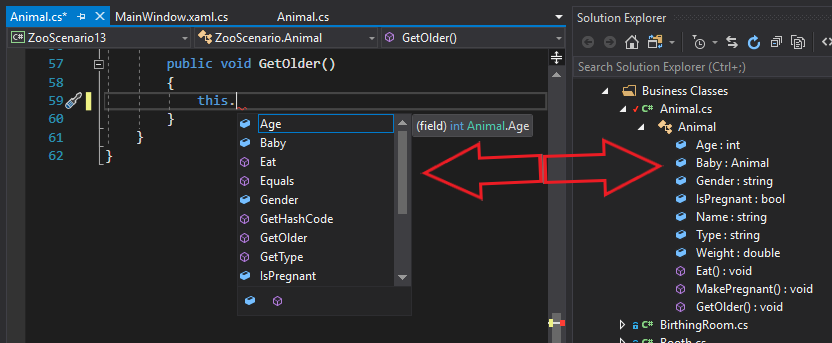
Using 'this' is a way to ensure that the member you are wanting to use is in the class you are currently writing code in. For example, if we were in the Animal class and wanted to see what members we had access to, we would type this. and intellisense will bring up a list of members that are accessible in that class directly. In this example, there are 10 members in the class: 7 fields and 3 methods.
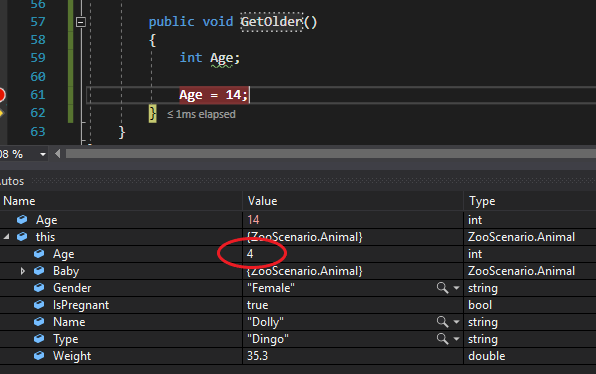
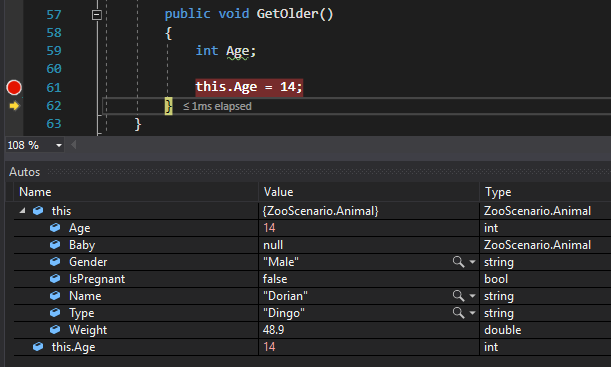
It is important to note that the keyword 'this' is not needed in many cases, but is used to ensure there is no ambiguity when writing code. For instance, if the Animal class also had a variable named Age which is also a field name, Visual Studio will assign the value to the variable if there is no indication that the field was the intended target (4 was the value assigned to this.Age previously and has been unchanged).
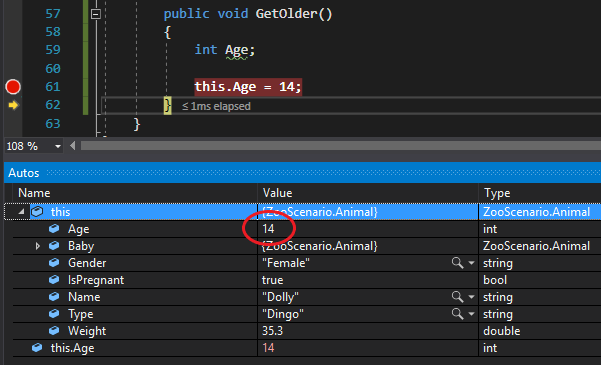
Notice how by adding this. to the beginning of Age now changes the 14 from being assigned to the variable to the 14 being assigned to the field (the 4 is now 14).
An important concept of 'this' is that it represents an instance. Notice how that in the examples above, the 'this' dropdown has Dolly the Dingo has the instance. That is because in previously written code the FeaturedAnimal field was instantiated and its fields assigned to and then that object (FeaturedAnimal) called the GetOlder method.
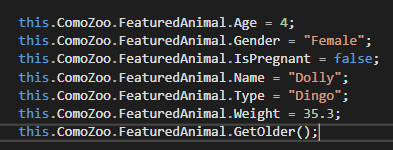
We are going to overwrite the FeaturedAnimal field in the MainWindow and call GetOlder on that instance instead.
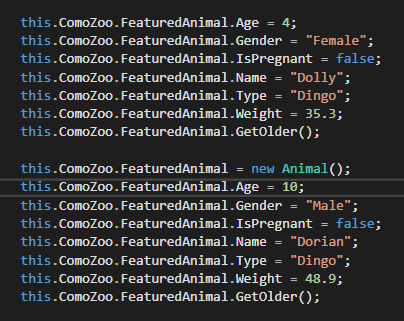
Notice that the members of 'this' are now different because it is a different instance of the class.
This will be covering the purpose and nuances of the keyword “this”. It will also be comparing the references of fields and variables.
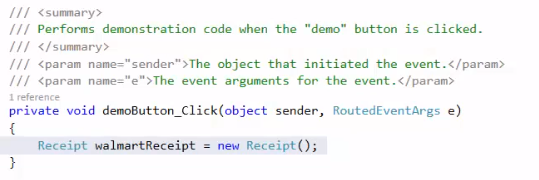
In this example you have a local variable called walmartReceipt that is of the Receipt class. If you click on Receipt() and press F12 you will see the details of the Receipt class.
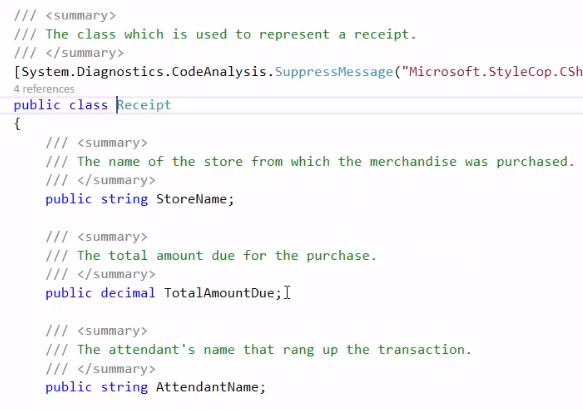
You will see that there are three fields in the Receipt class. StoreName, TotalAmountDue, and AttendantName.

Back in the MainWindow you can see that this variable is being defined, creating a new instance of the Receipt class and assigning the variable to that instance.
So knowing this, in the MainWindow you are able to assign the fields of the Receipt.
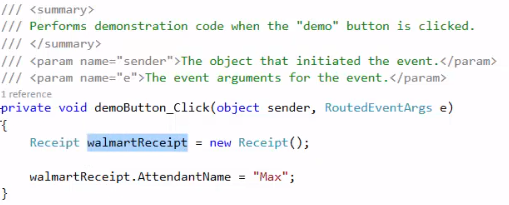 This will assign the variable’s AttendantName field to “Max”. If you set a breakpoint and press F10 over the code that assigns the variable, this is what you will see:
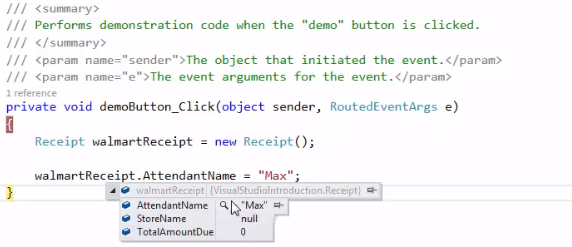 So you can see that the walmartReceipt now does have an attendant name of Max.
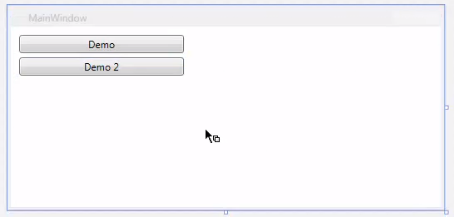
If the Demo 2 button was clicked on, it would create a new button click event handler in the MainWindow.cs.
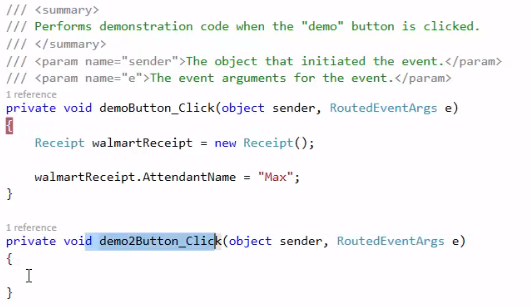
If you try to do anything with walmartReceipt in the demo2 button event handler, you will find that it doesn’t exist. The current method is outside of the scope of walmartReceipt, as walmartReceipt is ONLY inside of the original demo1 button event handler. The walmartReceipt variable would have to be changed to be a field for it to be able to be used in the demo2 button event handler because it is then at a class level.
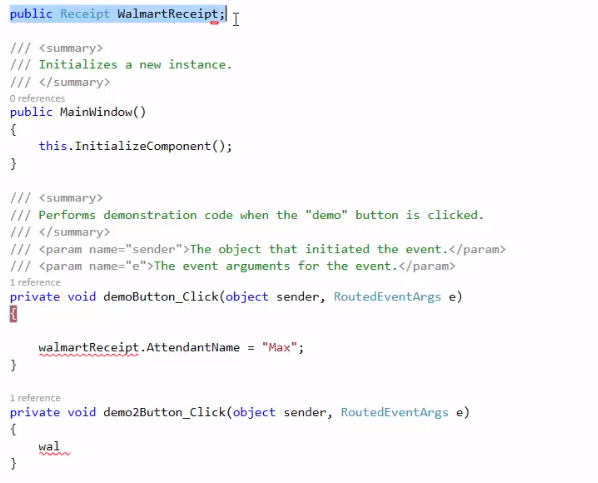
The casing needs to be changed, so walmartReceipt is now WalmartReceipt (due to it being a public field) but it is now able to be used in both methods. The WalmartReceipt does still need to be created, however - The highlighted line of code in the above image does not create WalmartReceipt, it defines it.
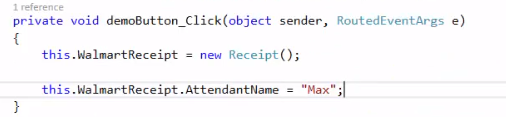
 This line of code (which was placed in the original demo button event handler) is what creates the WalmartReceipt.

StyleCop wants the keyword “this” to be put in front of the call to WalmartReceipt. It is good programming practice (And StyleCop wishes this as well) that one should prefix field references with “this”. StyleCop will give you this warning until it is resolved, so that will give you good practice in doing such a thing.
 With this done, the StyleCop warnings will now go away.


This field is within this class. You could think that “this” refers to the current class, but it’s more specific than that. “This” refers to the current instance of the current class.

So this would go up to the class that you are in - the current object of that class, so the current MainWindow, and it sets that receipt’s attendant name to Max. So if you typed “this.” expecting to find a field, that field has to be in the current class.
If you were in the demo2 button event handler, you would also be able to say this.WalmartReceipt, because the field is available for the whole class and not a singular method.

What this line does is assign the new string variable to the value of the WalmartReceipt’s AttendantName field, which is Max.
There are situations where you would not use “this”, such as below:
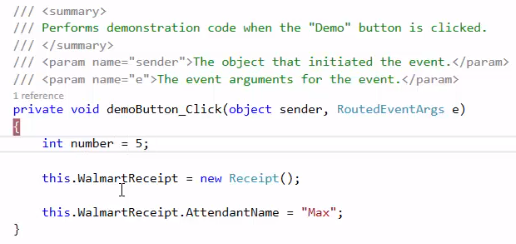
You would not say this.number to refer to the number variable because it is a variable - and therefore local.