In this portion of the lab you will prepare your Exchange server to support Exchange server and then you will install Exchange server. This process requires the following tasks:
Points (10)
Use the following specifications:
When finished, login to EX01 as the domain administrator.
Don't worry about the Windows automatic updating, we will get the EX01 box into the Software Update plan soon.
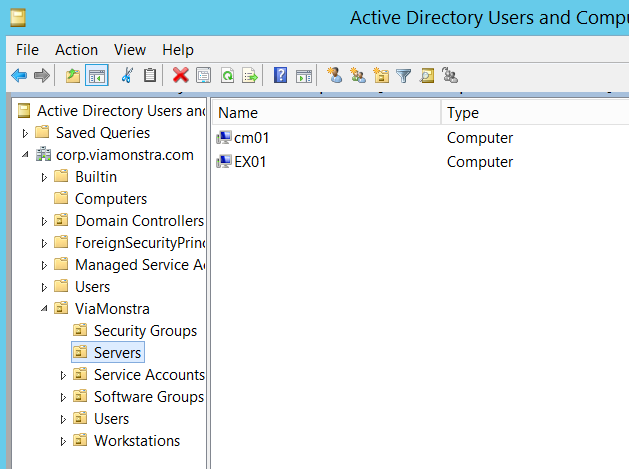
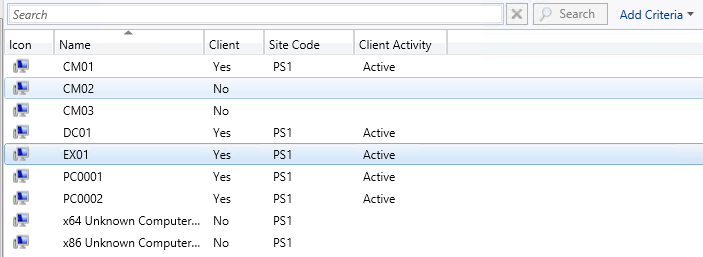
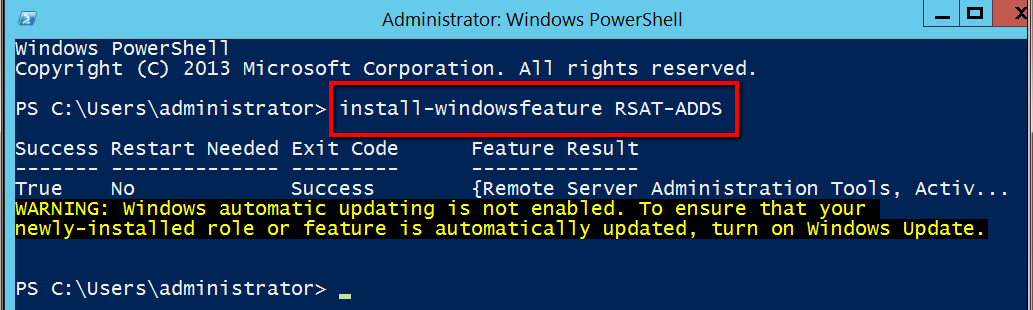
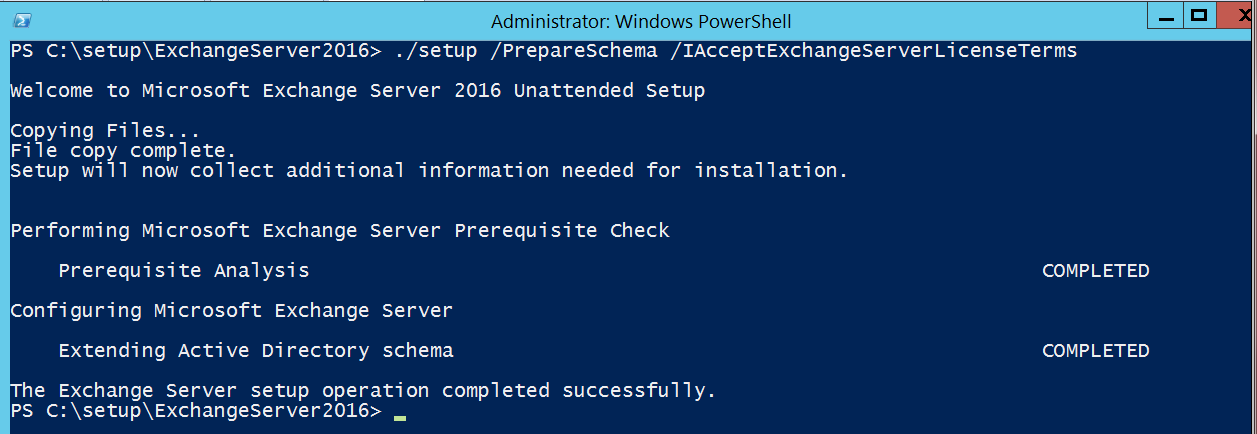
Since we are about to extend the Active Directory schema to make room for Exchange server Active Directory related entries, the command below shows you which server will get this update - it will be the schema master for your Active Directory infrastructure.

So, now we know which server will get the update to the schema master. Here is what you need to do to get this database extended for Exchange Server 2016.

The script in the text box below should be copied and pasted into your Windows PowerShell ISE interface and then run as administrator. This will install the required web features needed as prerequisites to the Exchange Server 2016 install.
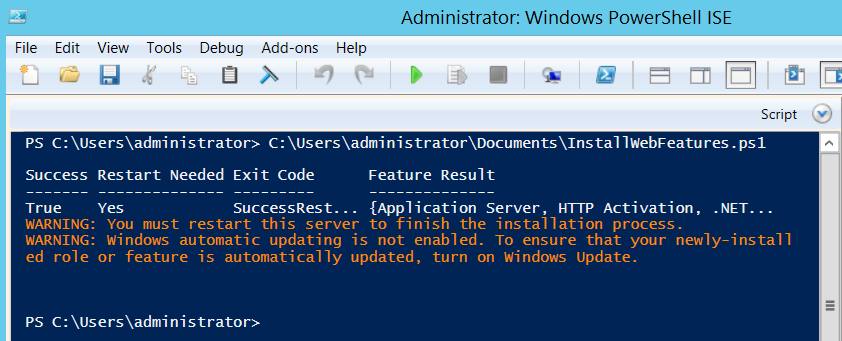
Reboot your EX01 server after the above script is successfully executed.
Install .NET Framework 4.5.2 using the default installation options. Download it from this link:
https://www.microsoft.com/en-us/download/details.aspx?id=42642
First, download the UCMA runtime from Microsoft and then install it using the default installation options. Download it from this link:
http://www.microsoft.com/en-us/download/details.aspx?id=34992
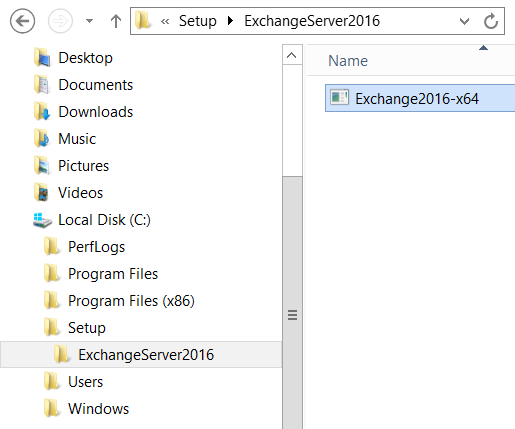
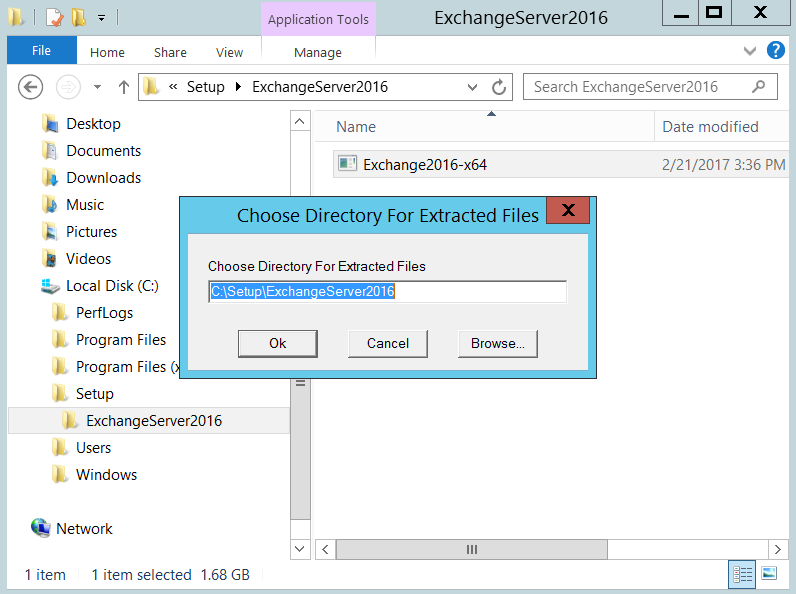
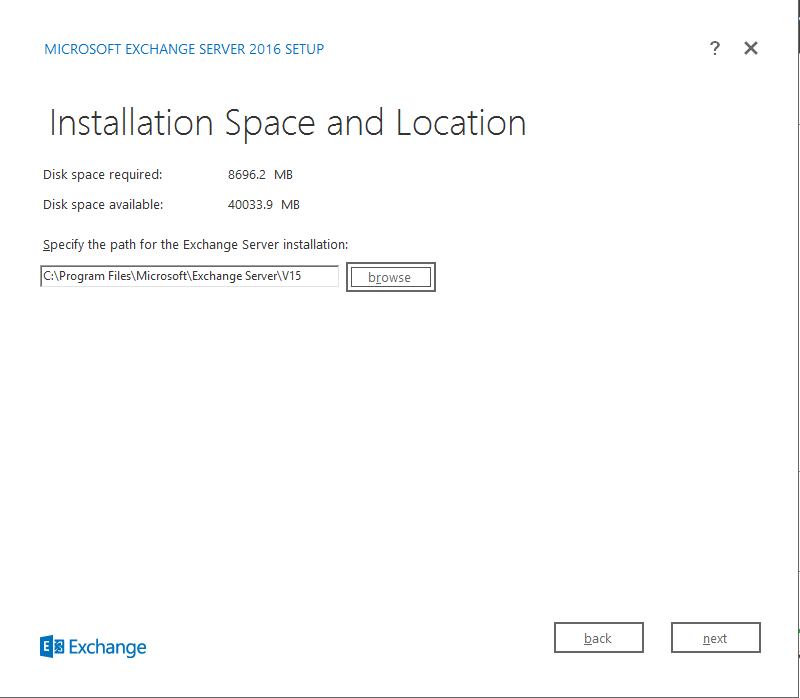
Run the setup.exe file located in the c:\setup\Exchange2016 folder. This will open the installation wizard which will check for prerequisites and install Exchange Server 2016.
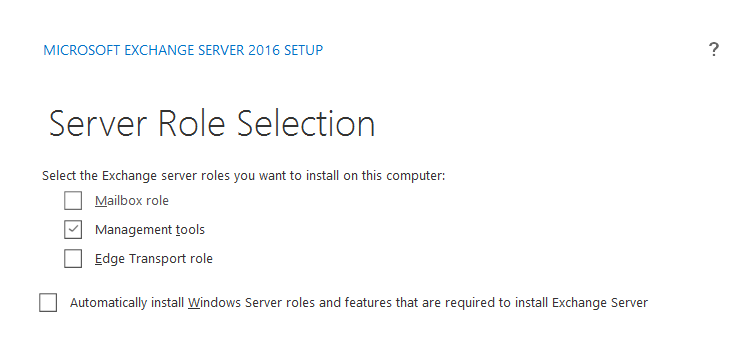
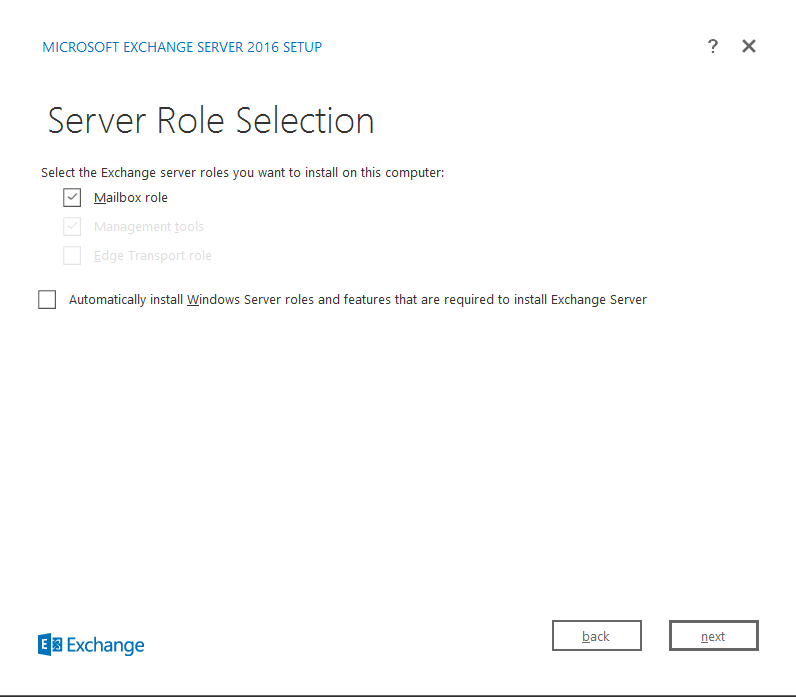
Note: there are two roles for Exchange Server: Mailbox role (which is the core role for Exchange server) and the Edge Transport Role (which runs in a de-militarized zone (DMZ) and works as the frontend to the Mailbox role when it is accessed from outside of the network). We will be installing just the Mailbox role.
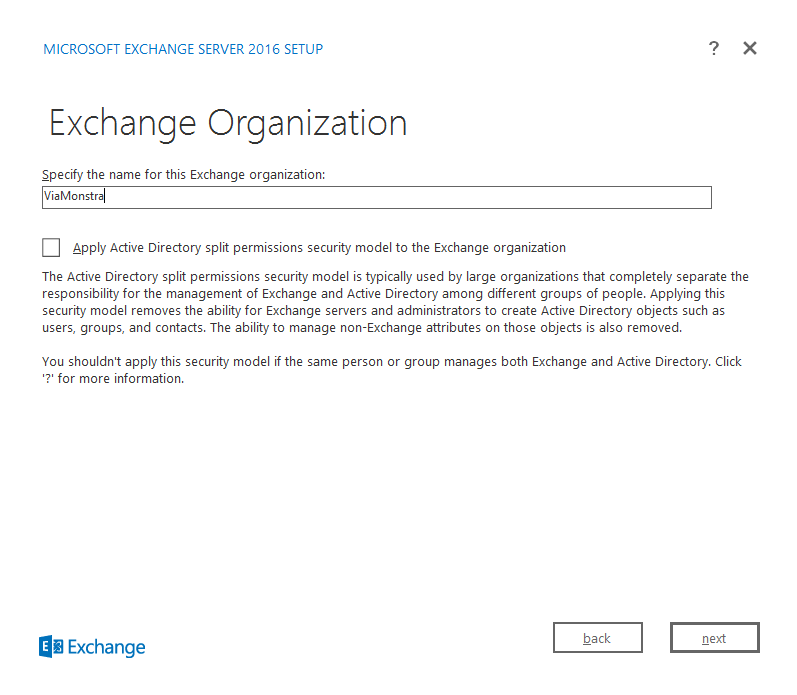
Perform these steps once in the wizard:
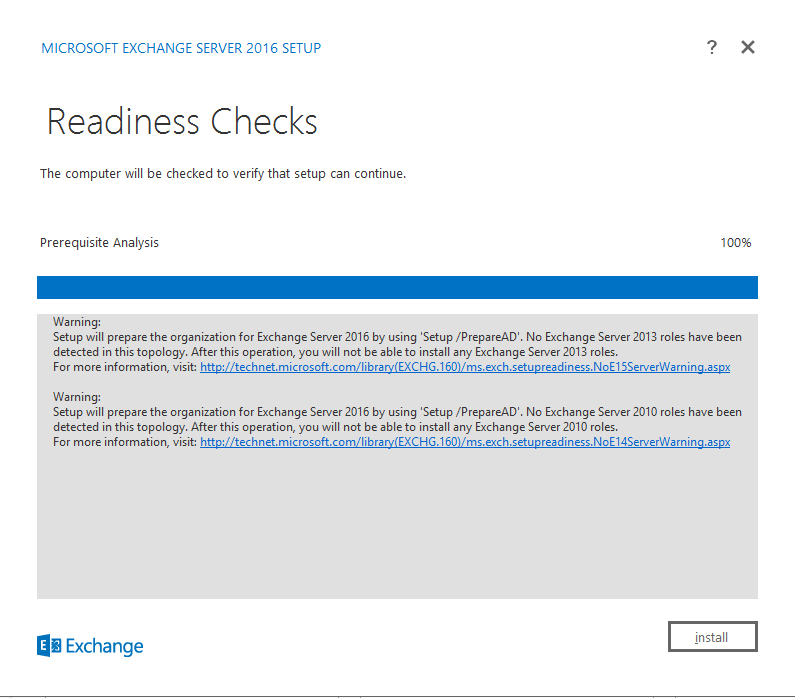
There will be 15 phases of the install that will involve coping files and setting up roles, they are as follows: (allow 15 - 60 minutes).
- Organization Preparation
- Stopping Services
- Copy Exchange Files
- Language Files
- Restoring Services
- Languages
- Management Tools
- Mailbox Role: Transport Service
- Mailbox Role: Client Access Service
- Mailbox Role: Unified Messaging Service
- Mailbox Role: Mailbox Service
- Mailbox Role: Front End Transport Service
- Mailbox Role: Client Access Front End Service
- Finalizing Setup
Install Management Tools
Unless remote desktoping into the Exchange Server for your remote administration tasks meets your needs, you would likely be interested in installing the Exchange server management tools on your management computer. Once you give yourself access to the Exchange server installation files from your management computer, you can install just the management tools. Do this now.
- Share the setup folder that you created on the Exchange server.
- Access this folder from your Windows 8.1 workstation.
- Run the setup.exe application from within the folder where the Exchange server installation files reside.
- Step through the wizard until you get to the prompt asking you whether you want to install the Mailbox role, the Management Tools, or the Edge Transport Role.
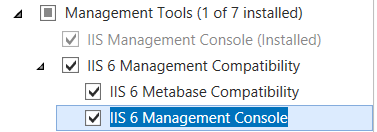
- Install the Management Tools. You will likely need IIS 6 Management Console and Metabase Compatibility features installed.
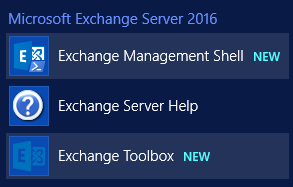
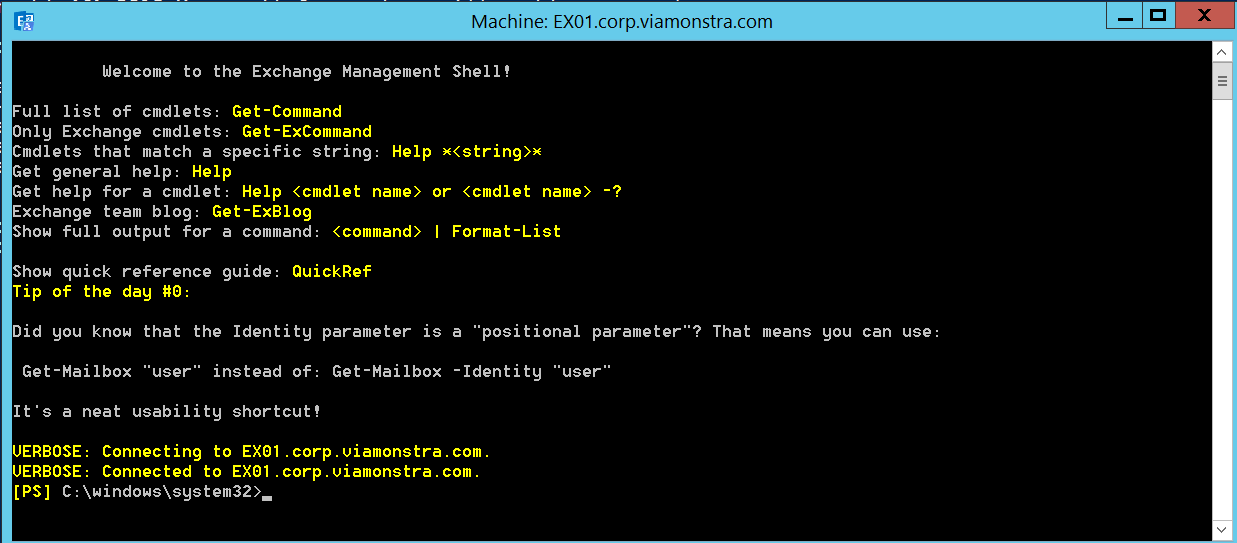
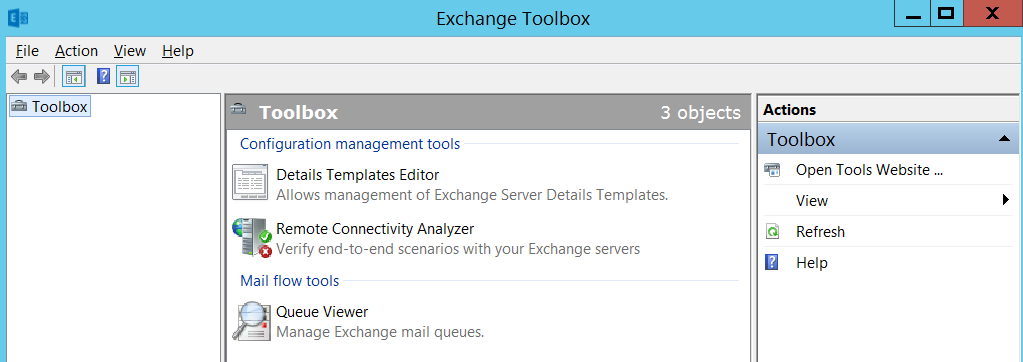
Once you have the tools installed you can manage the Exchange server remotely using both PowerShell commands and GUI interfaces. Exchange PowerShell commands are available to you through the Exchange Management Shell (see image below). Also, you now have the Exchange Toolbox which will give you access to tools that can be used to troubleshoot and analyze your Exchange infrastructure. Both the Exchange Management Shell and the Exchange Toolbox are already installed on your EX01 virtual machine.
Accept Domain Setup
Follow the instruction in the Lynda.com video pertaining to this topic at the following link:
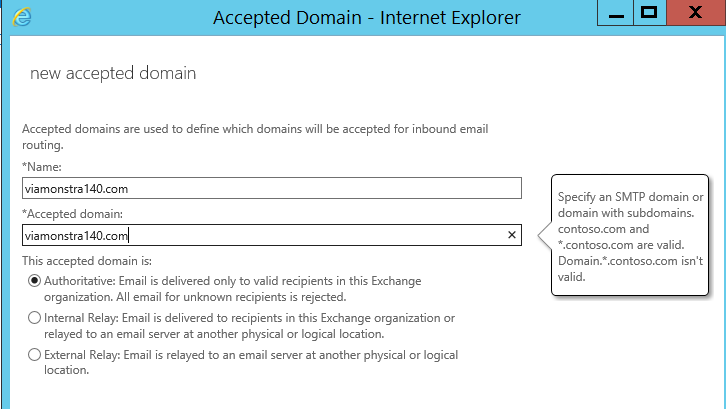
In the video you will see how an accepted domain is added called widget.com. This is an authoritative domain in the video and is the name the author chose to use. I would like you to add an accepted domain called viamonstra###.com, where ### is your VLAN number. See my example below.
This domain will be the domain name that is sent to and from our internal domain, it will be our Public domain. After it is added, make it Authoritative, but do not make it the default domain, leave our corp.viamonstra.com the default domain, which will simply our internal use of this domain.